DIY Guide: How to Detail Your Car Like a Pro at Home (Step-by-Step)
Keeping your car in pristine condition doesn’t always require expensive detailing services. With the right approach, tools, and a bit of patience, you can achieve professional-level results right in your driveway. This DIY guide is tailored for car enthusiasts who want their vehicle to look showroom-fresh while saving money and maintaining full control over the process. Check more DIY updates.
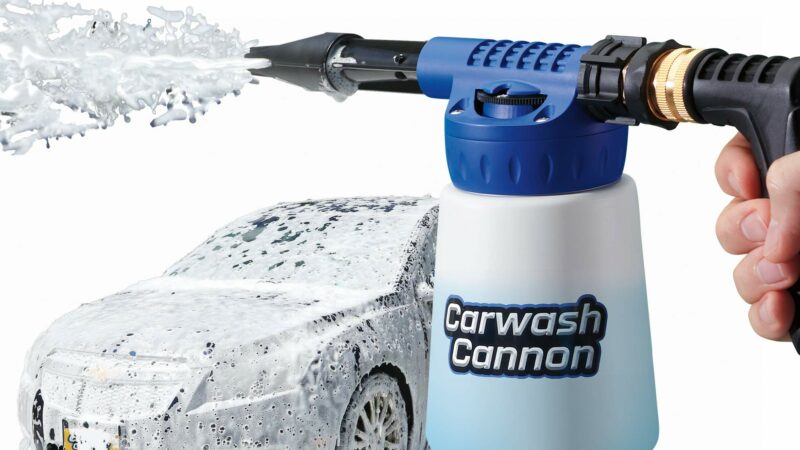
🧼 Step 1: Start with a Proper Wash
The foundation of any good detailing job is a thorough wash. Begin by rinsing your car to remove loose dirt and debris. Use a foam cannon or a bucket with automotive shampoo—never household detergents, as they strip protective coatings.
Use the two-bucket method:
- One bucket with clean water
- One bucket with soapy water
Dip your microfiber mitt into the soap, clean a section, then rinse it in the clean water before going back to the soap. This minimizes scratches caused by dirt particles.
👉 Always wash from top to bottom. The lower sections carry more grime.
🚿 Step 2: Dry Without Scratches
After rinsing, avoid air-drying as it leaves water spots. Use a clean microfiber drying towel or a car blower if available.
Pat dry instead of dragging the towel across the surface to prevent swirl marks.
✨ Step 3: Clay Bar Treatment (Deep Clean)
Even after washing, your paint may feel rough. That’s because contaminants like tar, brake dust, and industrial fallout stick to the surface.
A clay bar removes these:
- Spray a lubricant
- Glide the clay gently over the surface
- You’ll feel it become smooth instantly
This step is essential before polishing or waxing.
🛠️ Step 4: Polish for Shine & Scratch Removal
Polishing restores your car’s gloss and removes light scratches or swirl marks.
You can:
- Apply by hand (beginner-friendly)
- Use a dual-action polisher (better results)
Work in small sections and use circular or cross-hatch motions.
👉 Important: Don’t over-polish. Once or twice a year is enough.
🛡️ Step 5: Wax or Seal for Protection
Waxing protects your paint and gives it that deep, glossy finish.
Types:
- Carnauba Wax → Warm shine
- Synthetic Sealant → Longer protection
Apply a thin layer, let it haze, then buff off with a microfiber cloth.
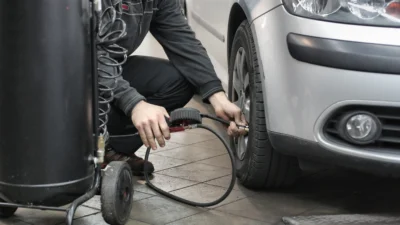
🛞 Step 6: Wheels & Tires Detailing
Your wheels collect the most dirt, especially brake dust.
- Use a dedicated wheel cleaner
- Scrub with a soft brush
- Apply tire shine for that fresh, dark finish
👉 Never use the same cloth for wheels and paint.
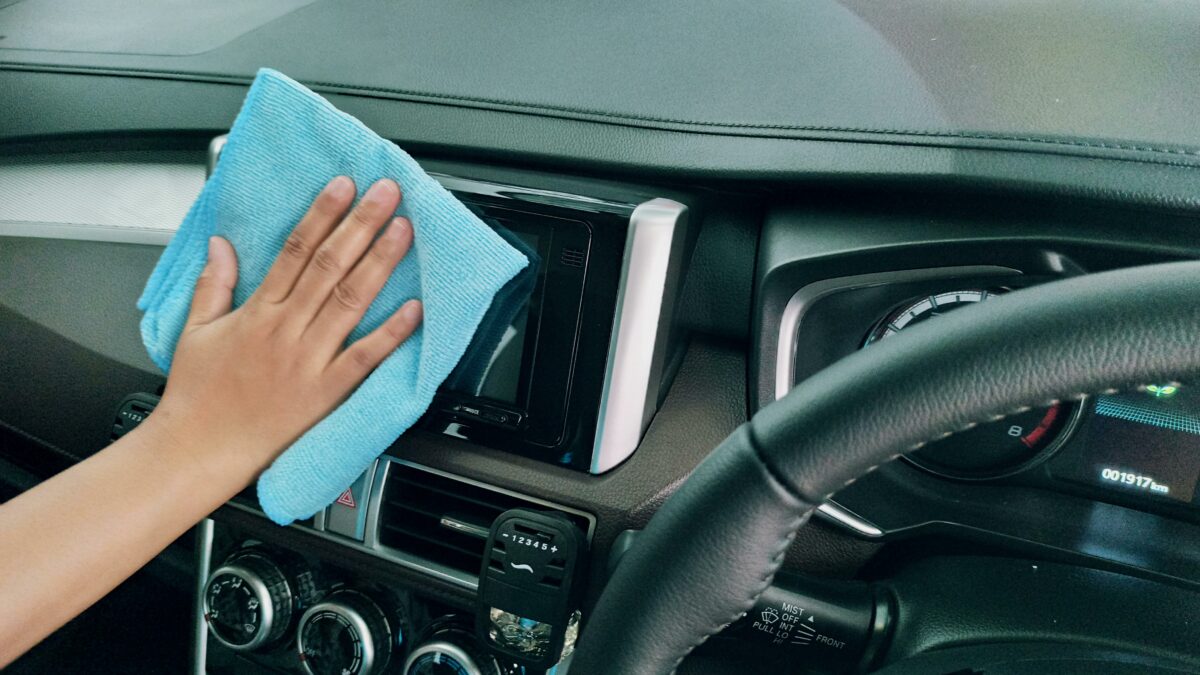
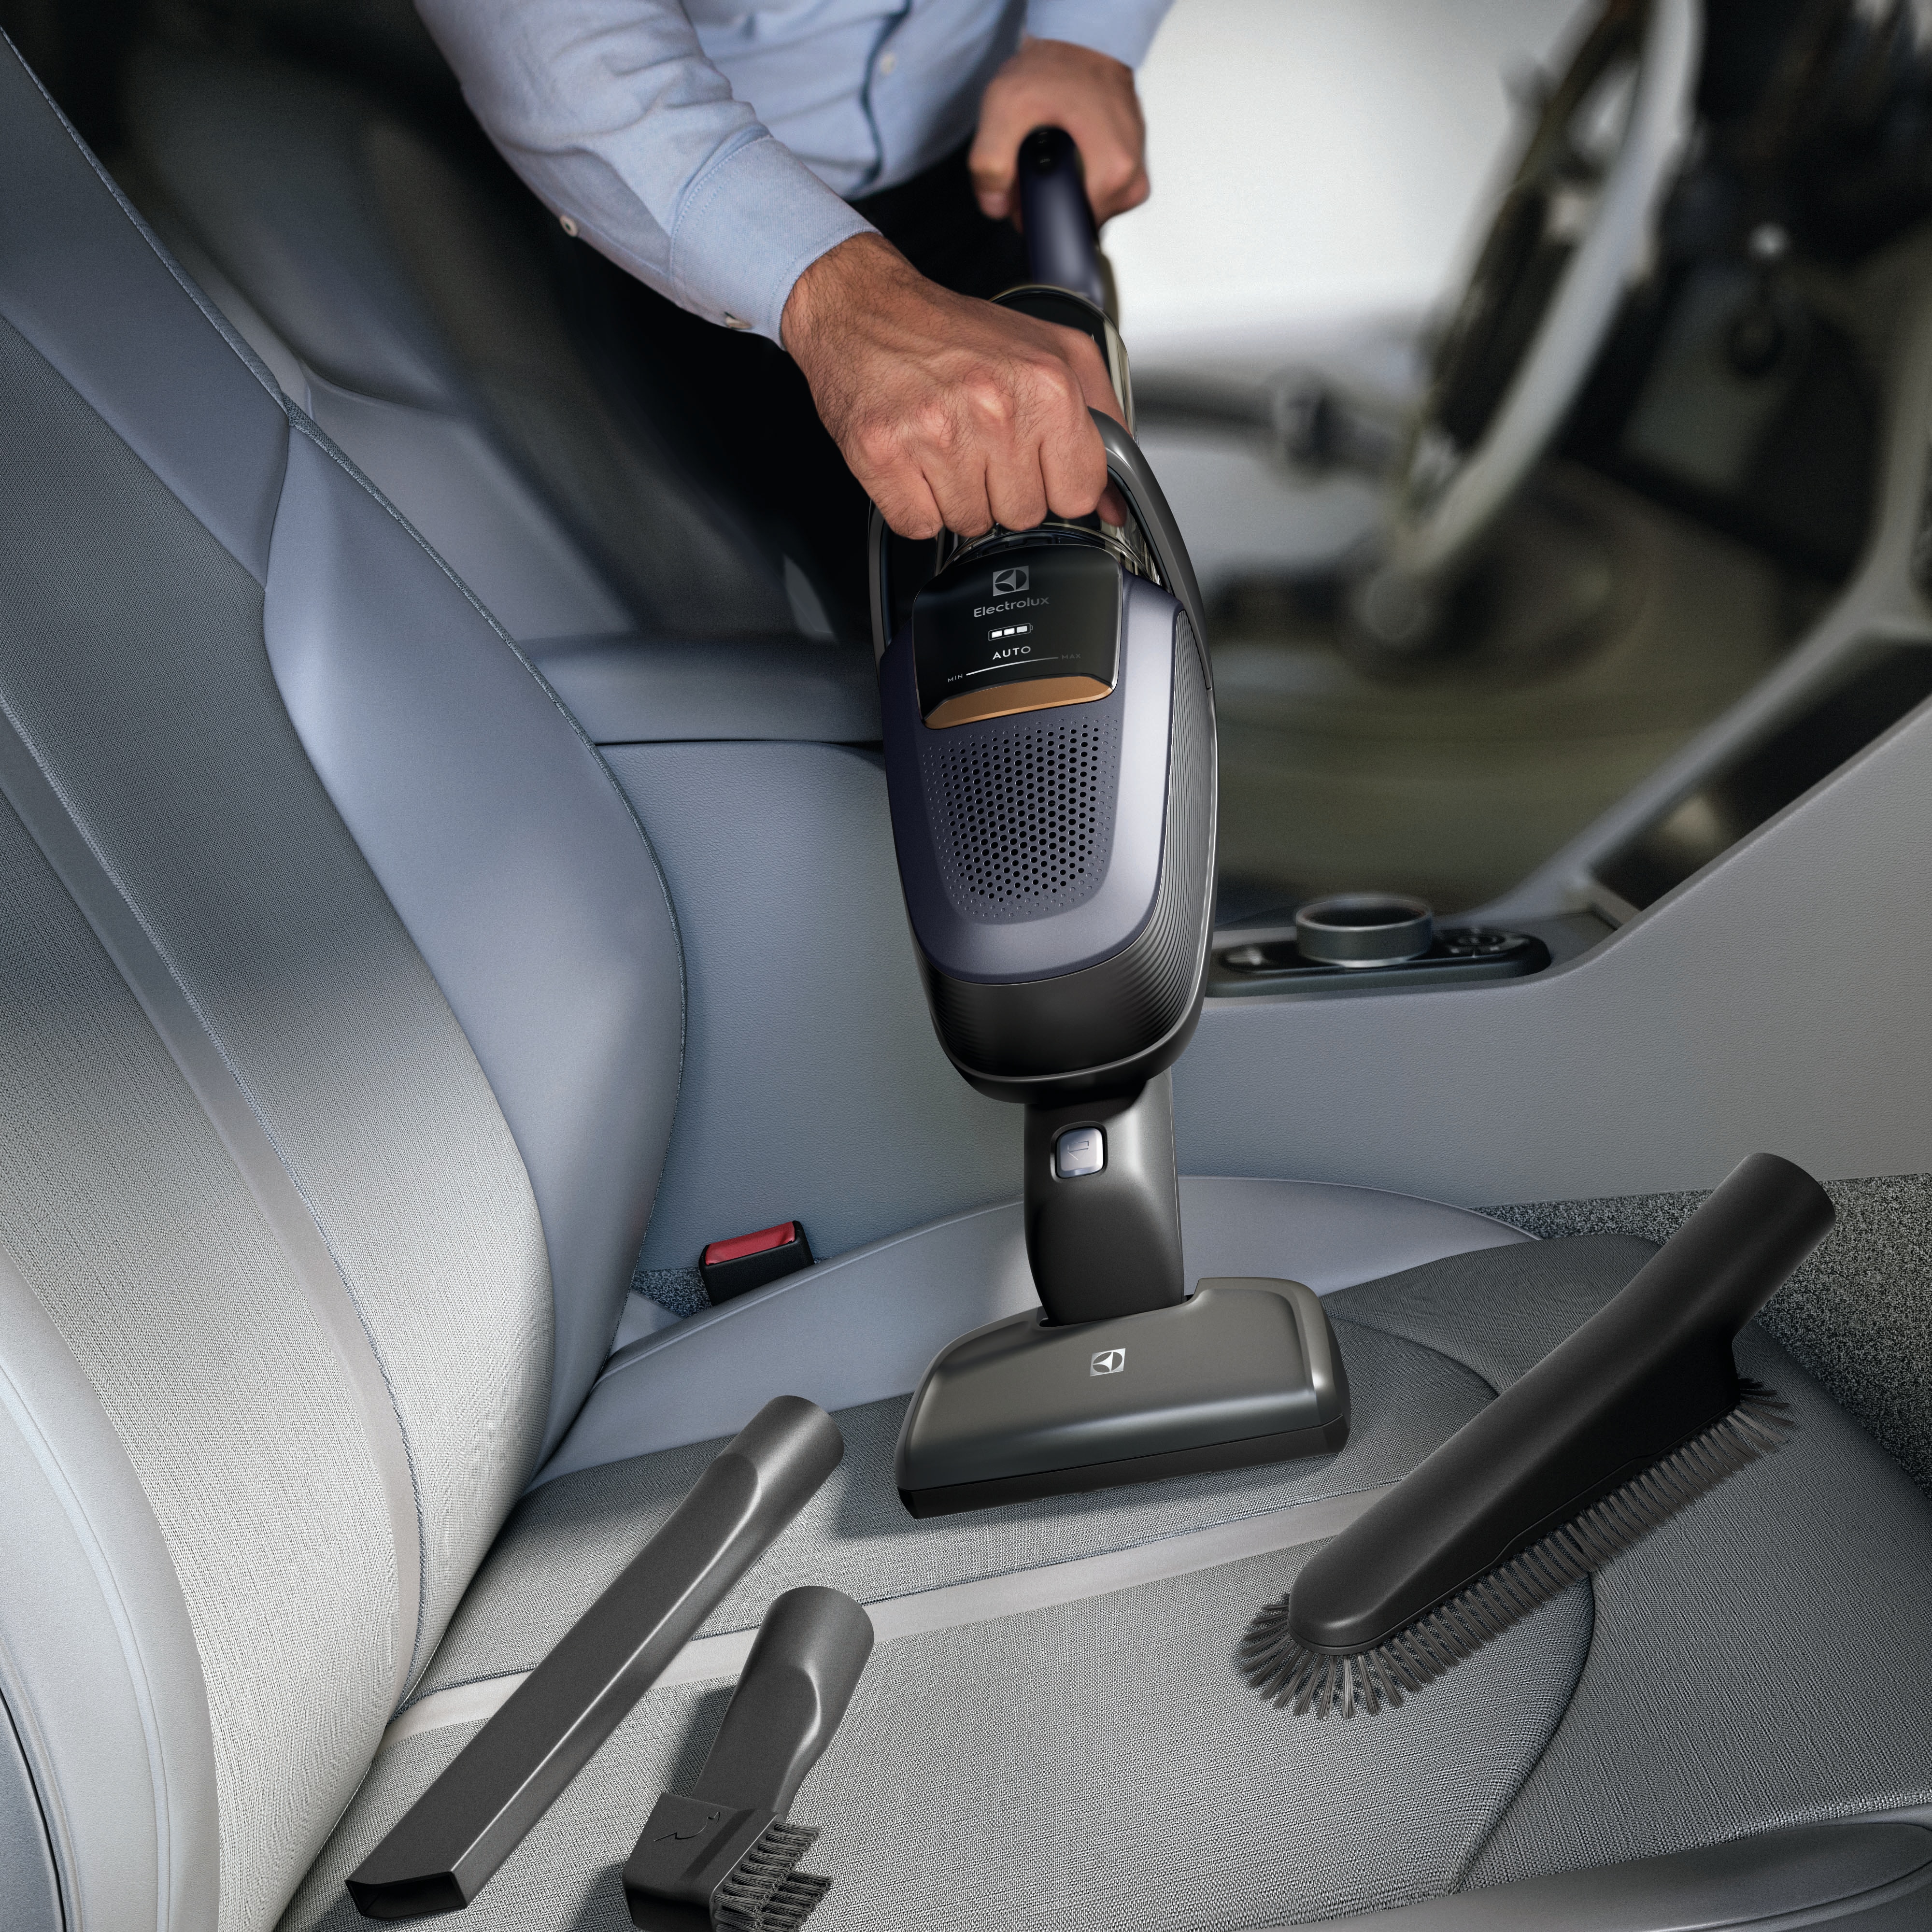
🧽 Step 7: Interior Deep Cleaning

Your interior matters just as much as the exterior.
Steps:
- Vacuum seats, carpets, and mats
- Wipe dashboard with interior cleaner
- Use a soft brush for air vents
For leather:
- Apply conditioner to prevent cracking
For fabric:
- Use fabric cleaner and gently scrub
🌬️ Step 8: Don’t Forget the Details
Small touches make a big difference:
- Clean windows with streak-free glass cleaner
- Use a detailing brush for logos and tight spaces
- Add a subtle air freshener
⚠️ Common DIY Mistakes to Avoid
- ❌ Using dish soap
- ❌ Washing under direct sunlight
- ❌ Reusing dirty towels
- ❌ Skipping drying step
- ❌ Over-applying wax
💰 Why DIY Detailing is Worth It
Professional detailing in Dubai can cost anywhere between AED 300 to AED 1,000. Doing it yourself costs significantly less after the initial investment in tools.
More importantly:
- You protect your car’s resale value
- You extend the life of paint and interior
- You enjoy the process (especially for car lovers)
🏁 Final Thoughts
Detailing your car at home is not just about cleaning—it’s about preservation, pride, and performance. Once you follow this process a few times, it becomes second nature.
With consistent care, your car will always look like it just rolled out of the showroom.