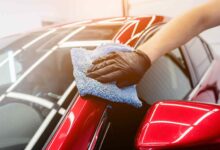
There’s something deeply satisfying about seeing your car gleam like it just rolled out of the showroom. But professional detailing can be costly and time-consuming. The good news? You can achieve professional-grade results right at home with the right tools and a few simple steps.
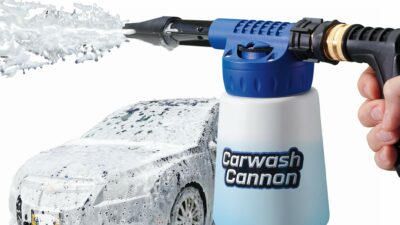
Start with the basics: a high-quality pH-balanced car shampoo, a microfiber wash mitt, and two buckets — one for soapy water and one for rinsing. Begin from the top of the vehicle and work your way down to avoid redistributing dirt. Pay attention to hidden areas like under the wheel arches and door jambs.
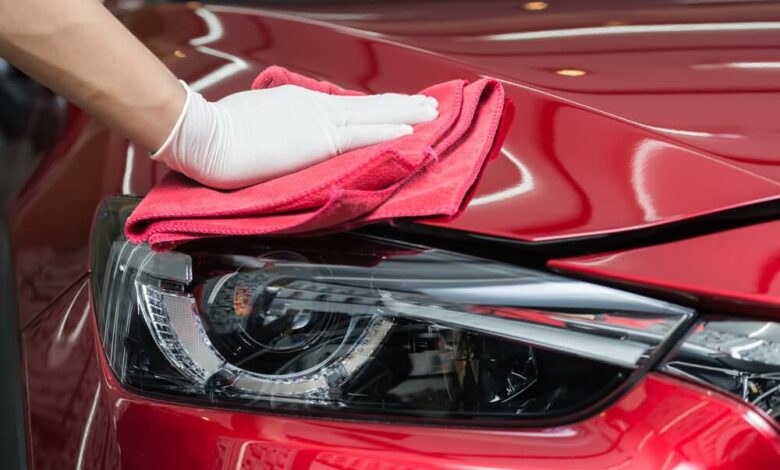
Once washed, thoroughly dry your car with a microfiber towel. Avoid using old t-shirts or bath towels — they can scratch the paint. Next comes clay barring, a step most DIYers skip. Using a clay bar and lubricant, gently remove surface contaminants that washing alone can’t handle. This leaves your paint silky smooth and ready for polishing.
Polishing revives dull paint and removes minor scratches. Use a dual-action polisher or apply by hand with a foam applicator pad. Once you see that deep gloss return, lock it in with wax or a ceramic coating. Wax is easier to apply and gives a rich shine, while ceramic coating offers better long-term protection against UV rays and water spots.
Don’t neglect the interior. Use a vacuum with attachments to get into all the corners and crevices. For surfaces like dashboards and door panels, a mixture of water and vinegar (3:1 ratio) works as a gentle cleaner. Finish with a non-greasy protectant to add UV protection and a factory-fresh finish.
Clean your windows last using a streak-free automotive glass cleaner and a microfiber towel. Pro tip: roll the windows down a few inches to clean the very top edge — a detail often missed.
With the right products and some weekend dedication, you can detail your car like a pro — saving money while giving your ride the care it deserves.