A 15-Minute DIY That Saves Money
DIY: Why Cleaning Your Car’s Door Seals Can Save You Thousands
Most drivers regularly wash their cars, check tyre pressure, and change engine oil. Yet one of the most important maintenance tasks is hidden in plain sight—and ignoring it can lead to water leaks, wind noise, interior damage, and expensive repairs.
Door seals are the rubber strips that run around the edges of your vehicle’s doors, windows, trunk, and sunroof. Their job is simple but critical: keep water, dust, heat, and noise out of the cabin. Over time, however, these seals become dirty, dry, and cracked, especially in hot climates such as the UAE and Saudi Arabia.
The good news? Maintaining them takes less than 15 minutes and requires almost no tools.
Why Door Seals Matter
Many drivers don’t realize how much work these rubber components perform every day.
They protect your vehicle’s interior from rain, humidity, sand, dust, and road noise. When seals begin to deteriorate, small problems can quickly become expensive ones.
Common warning signs include:
- Water entering the cabin after washing the car
- Increased wind noise at highway speeds
- Dust accumulating inside the vehicle
- Doors becoming harder to close
- Visible cracks in the rubber
Ignoring these symptoms can eventually lead to damaged carpets, electrical issues, mold growth, and premature wear of interior materials.
What You’ll Need
Fortunately, maintaining door seals is one of the easiest DIY tasks.
Gather the following items:
- Microfiber cloth
- Mild soap solution
- Clean water
- Rubber protectant or silicone-based conditioner
- Soft brush
Most of these items are already available in the average garage.
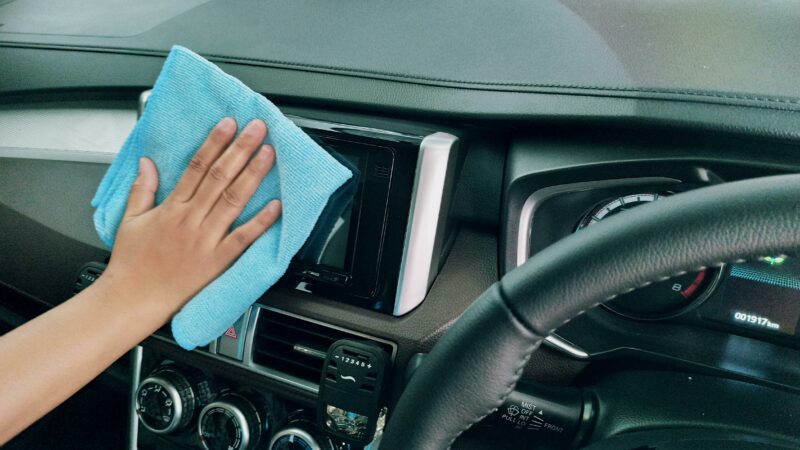
Step 1: Clean the Seals Thoroughly
Open all doors and inspect the rubber seals carefully.
Use a microfiber cloth dampened with mild soap and water to remove dust, sand, and grime. Pay special attention to corners and folds where dirt often accumulates.
For stubborn dirt, use a soft brush to gently loosen debris.
Once cleaned, wipe everything dry with a separate cloth.
Step 2: Inspect for Damage
Now examine the seals closely.
Look for:
- Cracks
- Splits
- Hardening
- Areas where rubber is separating
Small cracks may not seem serious today but can become major leaks during the next rainy season.
If damage is extensive, replacement may be necessary.
Step 3: Apply Rubber Protection
This is the step most drivers skip.
Apply a rubber conditioner or silicone protectant according to product instructions.
This treatment helps:
- Prevent drying and cracking
- Maintain flexibility
- Protect against UV damage
- Extend seal lifespan
In hot Gulf climates, this simple step can dramatically increase the life of rubber components.
Step 4: Repeat Every Few Months
Experts recommend treating door seals every three to four months, especially if your vehicle spends significant time outdoors.
Vehicles exposed to intense sun, desert conditions, and frequent washing may benefit from even more frequent inspections.
A Small Job with Big Benefits
Unlike many automotive maintenance tasks, door seal care requires no special tools, no mechanical experience, and almost no expense.
Yet the benefits can be significant:
- Reduced cabin noise
- Better air-conditioning efficiency
- Protection against water leaks
- Improved comfort
- Lower long-term repair costs
Sometimes the smartest maintenance isn’t under the hood. It’s the simple tasks most owners overlook.
Taking a few minutes to care for your vehicle’s door seals today could save hundreds—or even thousands—of dirhams in future repairs.
Explore More on CarBook
Discover more stories from the world of cars, technology, and automotive heritage. Read More News →